Thursday, April 17, 2014

Coming down and going up!

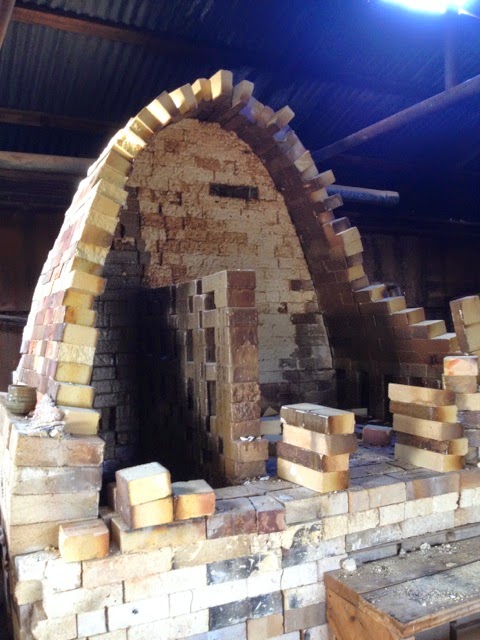
I'm excited that my kickstarter is finished and I was able to raise what I needed to get this new kiln up and running.  I started taking down the wood kiln a couple weeks ago, trying to sort what was reusable and what wasn't as I took it down.  


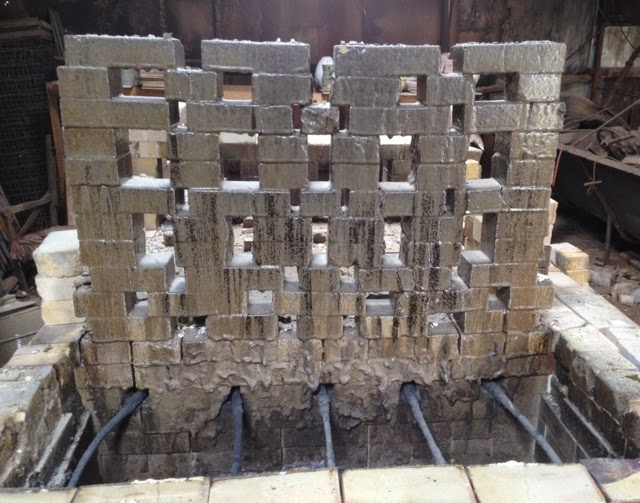
Look at those gaps!


Above the grates there was getting gnarly!  I tried to save the bagwall to use as a classy lawn ornament but it was just too heavy to move.

Not much left.

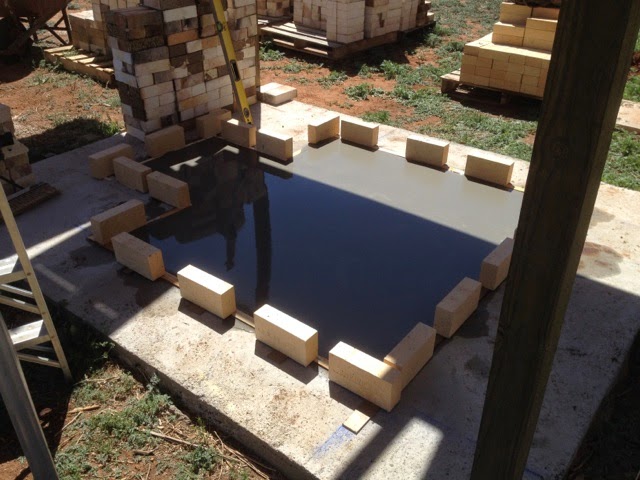
I snapped chalklines for the kiln and laid down a layer of self-leveling compound so that the foundation was perfectly flat and level.

Today I laid up the concrete blocks for the foundation and layer of cement board on top so that I start with a perfectly flat area to lay brick.

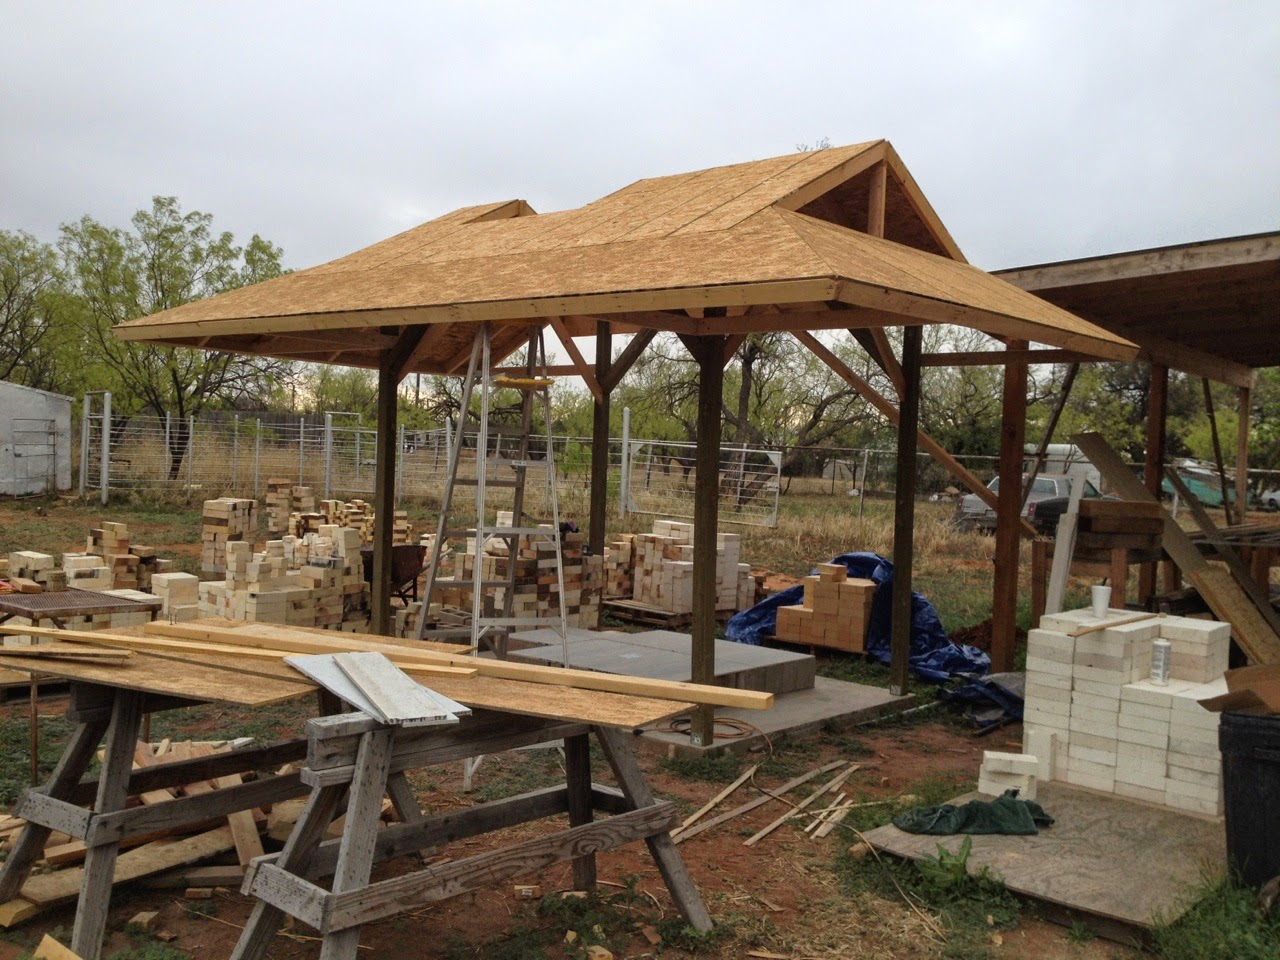
Here is the kiln shed, my studio is just to the right.  I'm going to put a metal roof on it once I get the stack through the roof.

Well, that's all for now.  I'm hoping to start laying the floor of the kiln tomorrow, I also need to go track down a brick saw.  I started loosely planning this project almost a year ago so it feels good to see it start coming together.  

Cheers!

Thursday, April 10, 2014

Oil Burner Update

The stars finally aligned themselves this week and I was able to fire the university kiln with my waste oil burners.  Things went pretty well, I had a few small issues during the firing that I was able to resolve or at least troubleshoot for the next firing.  I made it to cone 10 in about 11 hours using 27 gallons of waste vegetable oil.  The two biggest issues I had were the burner nozzles clogging and my air compressor not being able to keep up.  The latter was an easy fix, I was able to commandeer the department compressor so I had one on each burner.  I'm going to have to invest in a much larger/higher CFM compressor for my kiln.  That was an unexpected expense but I'm glad I figured it out now so I can budget that in.  I think the clogging was due to the oil not being adequately filtered.  The burners drew from a 5 gallon bucket and I had a 100 mesh sieve that I poured the oil through.  While attempting to remove sediment from the sieve I cracked it and put a couple small holes in it, so I think quite a bit of sediment made it through.  I was able to clear it quickly with a wire brush but it could lose temp pretty quick if the clog happened for too long.  I'm excited to know these things work and have that stress behind me.  It makes it a lot easier to move forward with getting the kiln built. 


In other news, I picked up an electric kiln this week.  I've been looking for a used one for a couple years but I had a pretty long and picky list of what I wanted.  My patience paid off and I was able to pick up a computer controlled Skutt 1227 for an extremely small amount of money.  It came from an elementary school that was having mandatory equipment replacement and was used at most 4 times a year.  It was a 3 phase 240 which is an cheap style to rewire as the elements don't need to be replaced, but lo and behold when I got home it turned out that it had already been rewired at point in time.  Score one for the home team.  The pieces I do with multiple layers of slip don't take to raw glazing so this will be a useful tool for me.  I don't know why I haven't taken a picture of it yet, but here it is tarped up in my truck. 


My kickstarter is over in 6 days.  I am currently $480 short of my stretch goal which will help with a number of additional expenses for the kiln.  If you are interested in contributing you can click here.  I still have plenty of brushes available for your contribution or would be happy to make some pots for you! 

Cheers!

Brandon